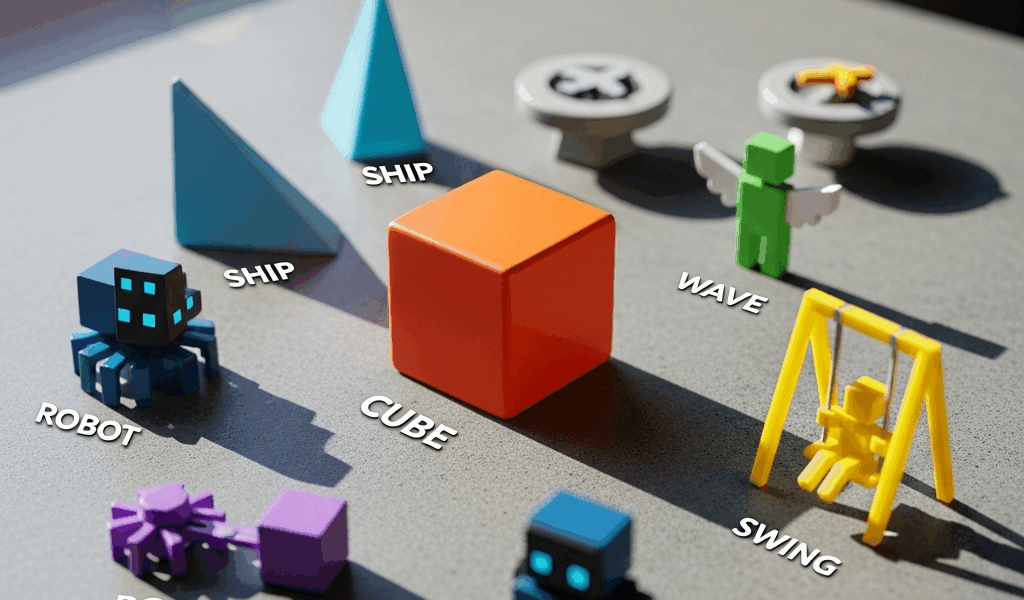
Every Geometry Dash Game Mode Explained — From Cube to Swing
Geometry Dash has gotten complicated with all the conflicting guides flying around. Search “geometry dash game modes explained” and you’ll mostly find articles that cover the cube, maybe the ship, then trail off like the writer got bored. There are nine distinct modes as of version 2.2. Nine. And every single one plays differently, demands different muscle memory, and shows up in level design in ways that either click immediately once someone walks you through them — or stay permanently confusing if nobody does.
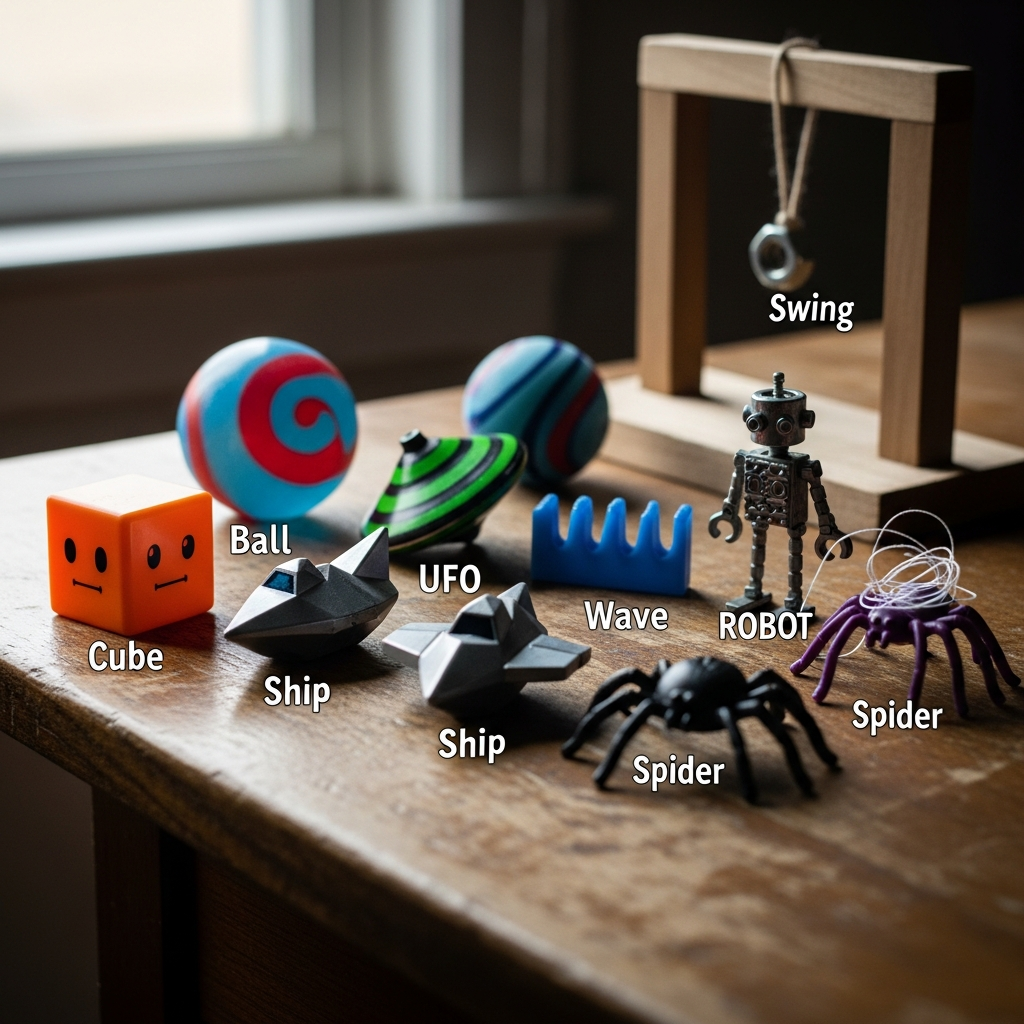
As someone who’s been playing since version 1.9 was still current, I learned everything there is to know about these modes the hard way. Years of embarrassing hour counts. And the single biggest turning point in actually improving wasn’t grinding harder. It was understanding what each mode was asking my hands to do in the first place. This breakdown covers all nine, how the physics work in plain terms, and what the game is really testing each time one appears.
Cube Mode — Where Everyone Starts
But what is cube mode, really? In essence, it’s a fixed-arc jump triggered by a single input. But it’s much more than that — it’s the foundation everything else is built on.
Every level opens in cube mode unless the creator deliberately changed it. One tap, one jump. A second tap mid-air gives you the double jump, and that’s your ceiling before gravity reclaims you. The timing challenge is entirely about reading where the cube lands relative to whatever’s in front of it. Spikes sit one unit tall. Blocks sit one unit tall. Single jump clears one block comfortably. Double jump handles two stacked without drama.
Gravity portals flip the whole visual world — hit a blue upside-down portal and suddenly you’re jumping downward toward what used to be sky. The input doesn’t change. You still tap to jump. The disorientation is completely mental. Plenty of new players freeze and die in gravity-flipped sections not because anything got mechanically harder, but because their brain refuses to accept what their eyes are seeing.
Worth separating two things that confuse almost everyone early on: yellow jump pads launch you automatically at a fixed height — no input required. Yellow orbs require a tap while touching them. Automatic versus input-required. That’s a different failure mode entirely, and recognizing which one you missed speeds up practice runs considerably.
Probably should have opened with this section, honestly. The arc physics from cube mode carry into almost every other mode in some form. The gravity portal logic carries over completely. Get this one clean and you’re not starting from scratch when something new shows up.
Ship, Ball, UFO, and Wave
These four modes show up early in the standard level progression. Grouping them together isn’t lazy — the contrast between them is actually the fastest way to understand what each one wants from you.
Ship Mode
Hold the input, ship goes up. Release it, ship comes down. Simple on paper, deceptively precise in execution. The ship has momentum — let go after holding half a second and it doesn’t stop instantly. It drifts downward before correcting. The real skill here is throttle control. Brief holds, brief releases, maintaining altitude in corridors that leave almost no margin.
Straight fly sections — hold perfectly still at one height for an extended stretch — are a genuine test of hand steadiness. Don’t make my mistake: I failed the straight fly in Clubstep around forty times before realizing I was gripping my mouse too hard and introducing micro-tremors into my hand. Loosened my grip. Fixed it in three attempts. Three.
Ball Mode
The ball rolls along surfaces. Tap once — gravity flips, ball snaps to the ceiling. Tap again — back to the floor. Unlike the cube’s arc, there’s almost no travel time between surfaces. The timing game is switching gravity at exactly the right moment to thread a gap rather than spike yourself on the ceiling. Ball sections frequently drop gravity orbs mid-air as timing cues. You’re not flying to them — you roll off a ledge and switch at the right beat. It’s rhythmic in a way ship just isn’t.
UFO Mode
Each tap gives the UFO a small upward burst. No holding — every bit of lift is a discrete input. Gravity pulls it back down between taps. It has less momentum than the ship but more unpredictability than the cube’s fixed arc. Rapid-tap UFO sections requiring you to maintain height in tight corridors are honestly some of the most finger-fatiguing sequences in the whole game. Your hand will let you know.
Wave Mode
Hold — diagonal upward at exactly 45 degrees. Release — diagonal downward at exactly 45 degrees. That’s it. No hovering, no throttle, no middle ground. You are always moving at a diagonal. That’s what makes wave mode endearing to us masochists who keep coming back to it — the constraint is total, and the levels are built entirely around it.
Frustrated by wave corridors, most players initially treat it like the ship — longer holds, longer releases. Works in wider sections. Completely falls apart in mini-wave segments on harder demons, where the corridor is barely wider than the icon itself and any angle error clips a wall immediately. The wave actually rewards musical timing more than any other mode. Players who sync inputs to the soundtrack often outperform players reading the geometry visually. Took me an embarrassingly long time to figure that out.
Spider and Swing Copter — The 2.2 Additions
Version 2.2 took roughly seven years to arrive. When it finally dropped, it brought two modes that genuinely changed what level designers could ask players to do. Spider and swing copter aren’t reskins of older mechanics — they operate on completely different principles.
Spider Mode
But what is spider mode? In essence, it’s an instant teleport to the opposite surface on each tap. But it’s much more than that — it removes the arc-reading skill from the equation entirely.
One frame on the floor, next frame on the ceiling. Not a jump, not a gravity flip with drift time — a teleport. This sounds similar to ball mode, but the ball still has a brief travel moment as it rolls to the new surface. Spider has none. The visual result is almost jarring, and the level design consequence is real: spider sections can place obstacles far closer together than ball sections because the mode never occupies the middle space between surfaces. Well-designed spider sections treat ceiling and floor as separate lanes — your job is staying in the correct lane at the correct moment. Pure pattern recognition and timing.
Swing Copter Mode
The swing copter moves forward and reverses gravitational direction with each tap. Tap once — gravity pulls upward, copter rises. Tap again — gravity pulls downward, copter falls. The twist is that momentum compounds. Two rapid taps send you sharply up then sharply down — a pendulum effect that gets unmanageable fast if you’re not controlling the tempo.
This new idea took off several years later and eventually evolved into the swing copter sections enthusiasts know and struggle with today — flowing, sinusoidal corridors that would be genuinely miserable in UFO. Tap too fast or too slow and the amplitude of your swings becomes uncontrollable. Finding the natural rhythm of a particular corridor is honestly half the battle. The mode rewards players who feel tempo over players who react purely to visual cues.
Both modes changed level design immediately. Spider enables staccato rapid-switch layouts impossible with ball. Swing copter enables flowing corridor designs that no previous mode could handle. The hardest 2.2 levels started layering both into sequences you’d need to see to believe — which brings everything to the final piece.
Dual Mode and Mixed Mode Challenges
Dual mode isn’t a separate icon — it’s a state where you control two icons simultaneously with the same input. One tap, both respond. This sounds manageable until the two icons are in different modes at the same time.
The classic nightmare: dual cube and ship. One tap makes the cube jump on its fixed arc and simultaneously cuts the ship’s thrust. Your single input has to satisfy two completely different physics systems at once. Level designers who want specifically brutal sequences will deliberately set up the dual modes so the ideal timing for one icon directly opposes the ideal timing for the other. It’s not accidental difficulty — it’s engineered cruelty, honestly.
Split-screen dual puts the two icons in separate visual spaces — one on top, one on bottom — rather than sharing a single play field. Removes some visual chaos. Introduces a different problem: your attention has to ping-pong between two separate games running simultaneously. Long split-screen segments are exhausting in a way single-icon gameplay rarely matches.
Mixed mode sequences — where the level cycles rapidly through multiple modes back to back — test whether your mode-specific muscle memory can switch cleanly without the previous mode bleeding into the next one. After a long ship section, your thumb wants to hold. If the next segment is wave, fine — holding is correct. If the next segment is UFO, holding does nothing, and you needed to switch to discrete taps the instant the portal fired. Players who drilled each mode in isolation sometimes fall apart here because isolation practice doesn’t build the switching reflex. That’s a specific gap.
The hardest Extreme Demons — top 50 on Pointercrate — tend to feature stretches where you’re cycling through four or five modes inside a ten-second segment, each tuned to require near-frame-perfect inputs. Watching a completion video of something like Avernus or Slaughterhouse with this knowledge is a genuinely different experience. The chaos resolves into something you can actually read. You see what the player’s hand is doing in every segment rather than just watching chaos unfold.
While you won’t need to master all nine modes before enjoying the game, you will need a handful of them clean before the mid-tier content stops feeling random. Learning them in order — cube first, then ship and wave, then ball and UFO, then spider and swing, then dual — builds the most durable understanding. Jumping into random featured levels to absorb everything at once tends to produce players who are mediocre across the board and frustrated by their own inconsistency. Deliberate mode-specific practice in simpler levels, even levels that feel beneath you, builds muscle memory that actually holds when a mixed sequence arrives and there’s no time to think your way through it.
Each mode is, at its core, one question: what does your input do to an object with these specific physics? Answer that cleanly for all nine and the game opens up in a way that’s hard to describe until you’ve experienced it.



Leave a Reply