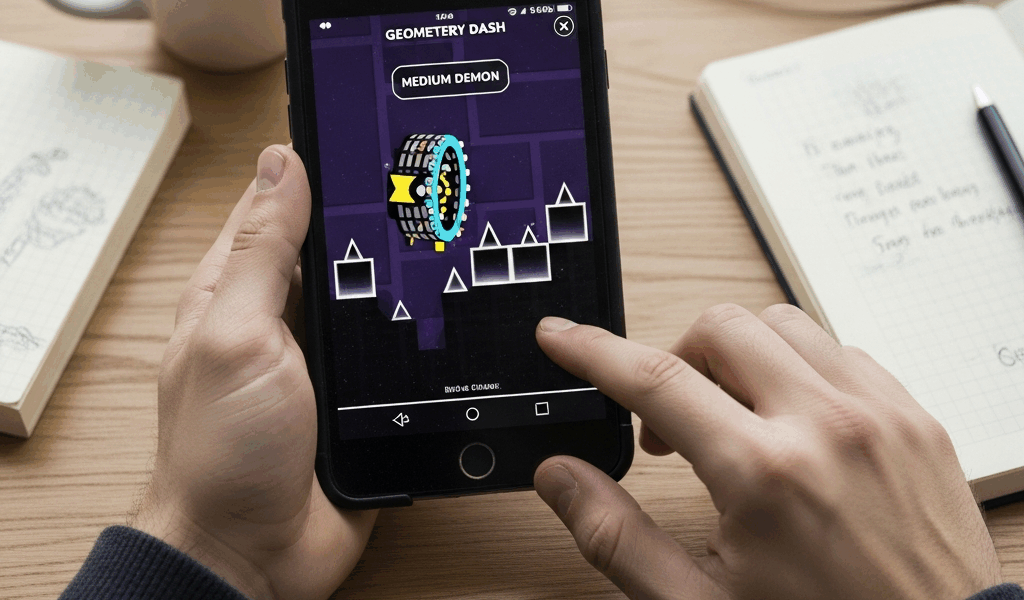
Geometry Dash Medium Demon Progression — 15 Levels to Build Your Skills
Geometry Dash medium demon progression has gotten complicated with all the conflicting tier lists and “just grind it” advice flying around. As someone who’s cleared well over 300 demons across every difficulty bracket, I learned everything there is to know about what actually separates players who push through this tier from players who quietly uninstall. And honestly? The jump from easy demon to medium demon humbled me harder than anything else — more than hard demons, more than my first insane. This is where the game stops babysitting you and starts expecting real understanding, not just fast fingers.

This guide covers 15 specific levels — in order — what each one actually teaches, and how you know when you’ve outgrown the tier. Not a raw list. Every entry is here for a reason.
Why Medium Demons Are the Hardest Jump
Easy demons teach you survival. Clubstep introduces wave. Theory of Everything 2 throws ship at you. Demon Mixed shuffles speeds around. You figure out the game modes exist and learn not to panic. That’s genuinely all they ask.
Medium demons want something else entirely. They assume panic is already off the table. Now they want precision sitting on top of calm — and that’s a much harder thing to build. The gap between surviving and actually performing is bigger here than at any tier above it. I didn’t expect that. Most people don’t.
Here’s what specifically shifts: wave sections demand size control, not just staying alive. Ship segments require deliberate angle awareness — not rough steering. Speed changes start happening mid-section without warning. Memory starts mattering. You can’t brute-force a medium demon the way you occasionally can with an easy one by just mashing fast enough.
I spent three weeks grinding Retray before realizing I was approaching it completely wrong — treating it like an easy demon, reacting fast and hoping for the best. Medium demons force you to slow down mentally even when the level speeds up. That was the thing I needed to understand before anything else clicked for me.
The other thing nobody mentions: medium demons punish inconsistency in ways easy demons never do. You can sit at 90% on a medium demon and feel like a clear is a month away. Consistency becomes the actual skill you’re training — not completion.
The First 5 Medium Demons — Foundation Skills
1 — Retray
Start here. Retray by Michigun is the smoothest entry point into this tier, and it teaches one specific skill better than almost anything else — reading transitions. The level constantly cycles between game modes at speed, and none of them are individually brutal. The difficulty is anticipating what’s coming and arriving in the right mental state before you get there. Play this until transitions stop catching you off guard. That’s the whole assignment.
2 — Jawbreaker
But what is Jawbreaker actually training? In essence, it’s wave control — not wave survival. But it’s much more than that. Survival means you didn’t die. Control means you put the icon exactly where you meant to. Jawbreaker’s wave sections are tight enough that sloppy inputs fail, but forgiving enough that you can feel the difference between a clean pass and a lucky stumble. You want to feel that difference. The feedback loop is the whole point.
3 — Killbot
Killbot by Michigun — recorded on a laptop in what looks like a pretty standard bedroom setup — forces you to handle speed changes mid-section for the first time at a difficulty that actually punishes hesitation. The ball sections have timing that shifts under you. If you’re still playing reactively rather than proactively, this level exposes that immediately. Most players take twice as long here as they should, simply because they won’t commit to the timing before they’re certain. Commit anyway. That’s what this level is teaching.
4 — Clubstep (verification runs, not casual)
You’ve probably already beaten Clubstep as an easy demon. Go back and beat it clean — no deaths after 50%, full focused runs, consistent endgame execution. Use it as a benchmark. If it feels genuinely easy now, you’re ready to keep moving. If it still feels sketchy anywhere, that’s useful information. Don’t skip this just because you’ve already cleared it once. Don’t make my mistake of assuming a prior clear means anything about your current foundation.
5 — Breakthrough
Breakthrough introduces ship precision with actual angle requirements — not just surviving a corridor, but hitting specific entry angles and holding them. Hard demons demand this constantly, and Breakthrough might be the best option for learning it, as the medium tier requires a gentler introduction to angle work than hard demons allow. That is because Breakthrough won’t destroy you for being slightly off — but it absolutely will kill you for being very wrong. Good place to learn the difference.
Levels 6–10 — Building Consistency
Probably should have opened with this section, honestly. This is where most players actually stall — not because these levels introduce wild new mechanics, but because they demand you do familiar things reliably, for a full level, without falling apart in the back half.
6 — Dorabae-Basic
This level is a consistency test wearing a costume. The mechanics are all familiar by now. What Dorabae-Basic does is chain them together with almost no rest sections — so your error rate starts compounding. One sloppy ship segment affects your mental state going into the next wave. Playing this trains you to reset emotionally mid-run, which sounds soft until the third time a clean run collapses at 80% because you were still thinking about the mistake at 45%.
7 — Hyper Paracosm
Hyper Paracosm has a legitimate difficulty spike in its back half that catches almost everyone off guard — multiple times. The front is manageable. The back half asks you to reproduce skills under pressure you’ve already been running for 60-plus seconds. This is the medium tier’s version of clutch performance. Get comfortable with the specific discomfort of being close to a clear and still needing to execute cleanly. That discomfort doesn’t go away at higher tiers. You just learn to work inside it.
8 — YATAGARASU
YATAGARASU is long. Longer than anything in the first five — noticeably so. The raw time investment of a full run starts mattering here, and some players discover for the first time that they lose focus around the two-minute mark. That’s real. Attention management is a skill, and this level trains it whether you signed up for that lesson or not. The mechanics aren’t what’s hard. Staying sharp for the full runtime is what’s hard.
9 — Aurora
Aurora trains micro-adjustments in the wave — not big corrections, tiny constant ones. The corridors force continuous small inputs rather than holding a line, and players who learned wave as a hold-and-release mechanic get exposed fast. Wave is a continuous input, not a binary one. That’s what makes Aurora endearing to us wave-focused players — it demonstrates the principle more clearly than anything else in this tier.
10 — Viprin
Viprin is a checkpoint. It combines everything from the previous nine levels — transitions, speed changes, ship angles, wave control, sustained consistency — into a single level that doesn’t let you coast on any one strength. If there’s a mechanical weakness in your game, Viprin will find it. That’s exactly why it’s here. Clear it and you know your foundation is actually real, not just functional on good days.
Levels 11–15 — Preparing for Hard Demons
These five levels don’t just close out the medium tier — they’re chosen specifically because they develop the exact skills hard demons test first. Skip them and jump straight to hard demons, and you’ll hit a wall that feels arbitrary. These levels explain that wall before you reach it.
11 — Problematic
Problematic introduces rhythm-based gameplay that goes beyond just reacting to visual cues. Some timing here is audio-synced in ways that genuinely reward playing with headphones and actually listening — not just watching. Hard demons use this constantly. Start building the habit now. Listening while you play, not just watching, is a different skill and it takes longer to develop than most people assume.
12 — Dark Travel
Frustrated by levels that hide the geometry? Dark Travel is doing that on purpose, using limited-visibility sections that force you to play partially from memory — committing to layouts you’ve studied rather than only responding to what you can currently see. This isn’t optional at hard demon difficulty. It’s standard. Dark Travel gives you a kinder first encounter with that reality than hard demons would.
13 — Supersonic
Supersonic — the medium demon, not the notorious one — demands ship precision that genuinely approaches hard demon requirements. The corridors are tight. The angles matter. There’s almost no margin for drift. This new level of precision took off as a benchmark among progression-minded players and eventually evolved into the standard measurement enthusiasts use and reference today when gauging ship readiness. Clear Supersonic with consistent endgame attempts and your ship is ready for the hard tier.
14 — Spectrum Labyrinth
Spectrum Labyrinth is the best level on this list for training what I’d call sectional discipline — approaching each part of a level as its own task rather than thinking about the full run while you’re inside something dangerous. Hard demons require this completely. You cannot be mentally rehearsing Bloodbath’s endgame while you’re navigating its opening ship. Spectrum Labyrinth is long and complex enough that you either practice this habit or you don’t clear it. Simple as that.
15 — The Eschaton
The Eschaton is the closest thing to a hard demon that still technically sits in the medium tier on most reference lists. Demanding across its full runtime — with a back half that requires everything built across the previous 14 levels to execute cleanly. Clear this and you’re not guessing about hard demons anymore. You’re ready. There’s a difference between those two things and you’ll feel it.
When You Are Ready for Hard Demons
The signs are specific. You’re consistently hitting 70% or higher on The Eschaton on fresh runs — not just good days. You can identify your death locations before a run ends, meaning you know the level well enough to predict your own mistakes. And Retray, which gave you genuine trouble at the start of this list, now feels easy — not just familiar. Easy.
Your ship sections are intentional. That’s the clearest signal, honestly. When you pass a ship segment knowing exactly what inputs you made and why — rather than just feeling relieved you survived — your ship is ready for the hard tier.
First, you should check the GDDP tier tool — at least if you want supplemental level options at any step here. But don’t chase its ratings as your primary metric. It occasionally suggests levels that don’t address your actual weaknesses. Use this list first, use GDDP to fill gaps, and use Pointercrate if you need alternatives at any specific step.
For a first hard demon: Silent Clubstep, Dark Corridor, or Vex — depending on your strongest mechanics. Wave better than ship? Start with Vex. Ship stronger than wave? Dark Corridor. Relatively balanced across game modes? Silent Clubstep is the most traditional entry point and will surface any remaining gaps quickly.
The medium tier is the hardest jump in Geometry Dash skill development. Clear it properly — with intention — and the hard tier will feel earned rather than impossible.



Leave a Reply