Geometry Dash Orbs and Pads — Every Type Explained with Timing Tips
If you’ve spent any real time learning geometry dash orbs and pads, you already know that most explanations online either stop at “yellow orb makes you jump” or bury the useful stuff under a mountain of wiki formatting. I’ve been playing Geometry Dash since version 1.9, cleared levels in the Demon difficulty range, and spent an embarrassing number of hours in practice mode just working out orb timing on single screens. This article is everything I actually wish I’d had when I started — visual descriptions, timing breakdowns, and the practice strategies that finally got sequences to click for me.
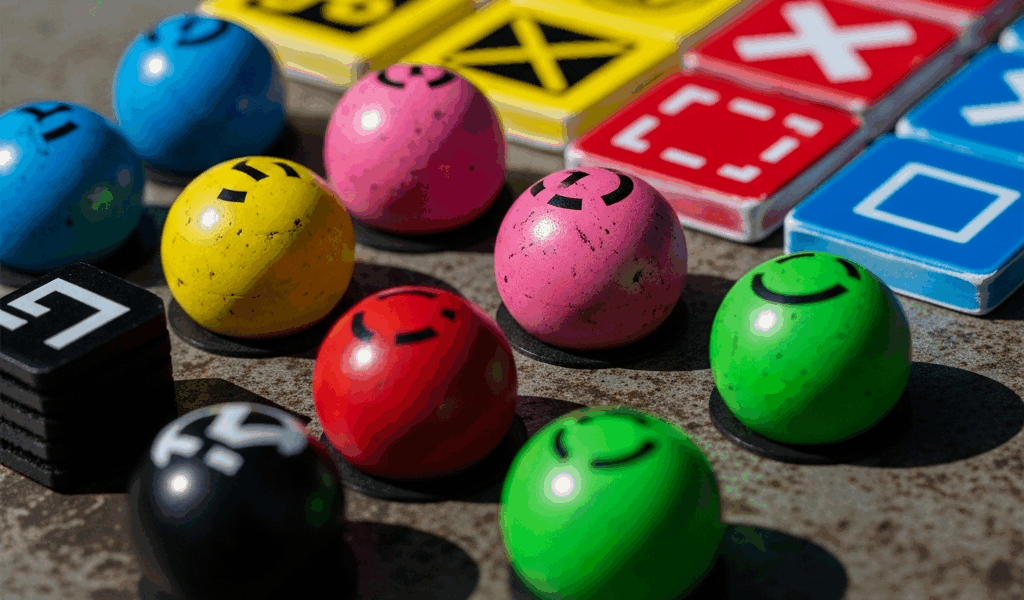
Every Orb Type and What It Does
Orbs are the circular objects floating in a level that you activate by tapping while your icon is close enough to touch them. Unlike pads, orbs don’t do anything unless you tap. That distinction matters more than people give it credit for, especially in sequences where you’re managing both at once.
Yellow Orb
The standard jump orb. Tapping it while in range sends your icon upward with the same force as a regular jump. It’s the baseline — everything else is a variation on this. Yellow orbs glow with a soft gold ring and are usually the first orb type you encounter in any tutorial or beginner level.
Pink Orb
Smaller jump than yellow. The pink orb gives you a reduced upward boost, which makes it useful in tight vertical spaces where a full jump would slam you into a ceiling. Visually it pulses with a brighter, almost magenta ring compared to yellow. New players consistently tap it expecting a yellow-orb jump and clip the ceiling. I did this constantly on Polargeist before I understood the difference.
Red Orb
The red orb launches you significantly higher than yellow. It’s the “big air” orb — useful for reaching platforms far above your current trajectory. The ring is a deep red, sometimes with a slight orange tint depending on the level’s color scheme. Timing matters more on red orbs than on yellow because the extra height means you’re airborne longer, and a late tap can send you into a wall instead of clearing it.
Green Orb
This one reverses gravity temporarily. Tapping a green orb flips your icon to the opposite surface — if you’re running on the floor, you end up on the ceiling. It behaves like a gravity portal but on demand. The green orb has a distinct lime-green glow and usually appears in levels that already use gravity mechanics heavily. Missing the tap window sends you sailing past it, and the results are almost always fatal.
Blue Orb
The blue orb also reverses gravity, but the timing window is tighter and the visual is a cooler, deeper blue than green. In practice they can feel similar, but blue orbs tend to appear in faster sequences. Some players confuse blue orbs with blue pads — they’re not the same thing, and the confusion has cost me more than a few runs.
Black Orb
Tapping the black orb reverses your current gravity state back. So if you’re on the ceiling already, black orb puts you back on the floor. It essentially cancels a previous gravity flip. The visual is dark with a faint gray pulse ring. Black orbs appear frequently in levels designed around rapid gravity switching and are easy to miss because they don’t have the bright coloring that other orbs do.
Dash Orb
Introduced in later updates, the dash orb launches your icon in a straight line — horizontal, vertical, or diagonal — depending on the direction it’s set to. Tapping it locks your trajectory briefly and shoots you through the air without normal gravity applying. Dash orbs are white or lightly colored with a directional arrow indicator. They show up heavily in 2.2 levels and add a whole new timing layer because you have to account for where the dash ends, not just where it starts.
Every Pad Type and the Difference from Orbs
Pads are flat trigger objects on the ground or ceiling that activate automatically when your icon runs over them. You don’t tap. That’s the core difference. Understanding that pads are passive and orbs are active completely changes how you read a screen during a run.
Yellow Pad
Sends you into a standard jump automatically. It looks like a small yellow ramp or platform with a glowing border. Because it triggers on contact, you can’t control when it fires — your job is to be in the right position when you reach it. Yellow pads are common in early levels as a way to introduce jump mechanics before orbs show up.
Pink Pad
Same as pink orb in terms of jump height — small boost — but automatic. Pink pads appear in sections with low ceilings and tight timing windows. Running into one when you expected a yellow pad sends you short of the target. Read the color before you reach it.
Red Pad
Big launch, automatic, no tap needed. Red pads can throw you surprisingly far and high, and levels that use them often follow with an immediate obstacle at the peak of that arc. The landing matters as much as the launch. I’ve watched countless practice runs fail not on the pad itself but on the platform three seconds after it.
Blue Pad
Reverses gravity on contact. Same concept as the gravity orbs but hands-free. Blue pads are commonly placed in sequences where the level design forces you to run along the ceiling for a stretch. They pair frequently with other pad types in quick succession — you’ll hit a blue pad, travel inverted, then hit another blue pad to flip back. Getting the spacing wrong means flipping at the wrong time and running directly into a spike.
How Pads and Orbs Work Together in Sequences
Levels that mix both types are testing your ability to switch mental modes fast. A common sequence looks like this: yellow pad launches you, blue orb mid-air requires a tap for a gravity flip, then a pink pad on the ceiling manages your next movement. Miss the orb tap because you thought it was another pad and the whole sequence collapses. Probably should have opened with this point, honestly, because it explains why players who know each individual type still fail in mixed sequences — they lose track of what requires a tap.
The rule I use: if it’s round and floating, I need to tap it. If it’s flat on a surface, it handles itself. Simple, but drilling it as a reflex changed everything for me.
Timing Tips for Tricky Orb Sequences
This is the section most guides skip. Knowing what each orb does is table stakes. Knowing when to tap is the actual skill.
Tap on Approach, Not on Contact
For most orbs, tapping slightly before your icon visually reaches the orb produces better results than waiting until you’re directly on it. The game registers the input based on proximity, so early taps within the activation radius still fire. Late taps outside the window do nothing. When I started tapping about a half-beat early on fast sequences, my consistency went up noticeably.
Multi-Orb Timing
Sequences with two or three orbs in rapid succession are where most players break down. The mistake is treating each orb as its own separate event. Instead, think of the sequence as a rhythm. Three yellow orbs in a row at high speed have a consistent tap tempo — find the beat and keep it. Stopping to visually confirm each orb before tapping kills your momentum and guarantees a late input on the second or third orb.
Early vs. Late Depending on Orb Type
Red orbs specifically benefit from early taps. The extra height they provide means you want to begin that trajectory shift as soon as possible, especially before a tight ceiling gap. Pink orbs, by contrast, are often better tapped slightly later because the lower jump arc means overcorrecting early sends you into the floor before the next obstacle. Blue orbs in fast sequences almost always require early taps — the gravity flip takes a moment to register in your movement path.
Common Timing Mistakes
- Double-tapping — hitting an orb then immediately tapping again out of panic, which jumps or flips when you didn’t intend to
- Holding instead of tapping — in ship or ball mode, holding works; in cube mode, holding after the initial tap does nothing useful and confuses your rhythm
- Skipping orbs in sequences with optional routes — some orbs are decorative or part of alternate paths; tapping one not intended for your line ruins your trajectory
- Timing trained in practice mode not transferring to normal mode — practice mode runs slightly differently with checkpoints affecting flow; always do full clean runs before calling a sequence mastered
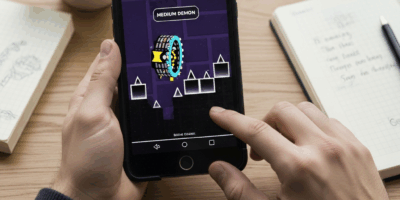
Practice Mode Strategies for Orb and Pad Sections
Practice mode is the tool. How you use it determines whether you actually improve or just repeat your mistakes more times.
Place Checkpoints Before the Sequence, Not In It
Frustrated by a checkpoint system that put respawns mid-sequence, I started placing checkpoints two to three beats before the difficult orb section rather than right at it. This gives you time to settle into the movement rhythm before the hard part begins. Checkpoints placed directly on a difficult orb give you a cold start with no momentum context, which is not how you’ll approach that section in a real run.
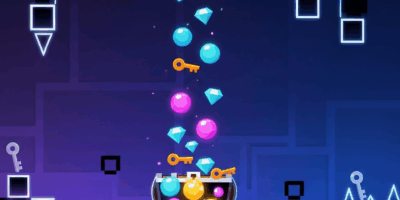
Isolate Single Orbs Before Running Full Sequences
Put a checkpoint right before the specific orb giving you trouble. Run it fifty times in isolation. Not ten — fifty. Muscle memory for a single timing input requires repetition that most players underestimate. I spent forty-five minutes on a single green orb sequence in a Harder-rated level before it became automatic. That sounds excessive until you clear the level clean.
Remove Checkpoints for the Final Practice Pass
Once individual sections feel solid, do a full practice mode run without placing any new checkpoints. Let the existing ones catch you if needed, but aim to run through your problem sections without triggering them. This bridges the gap between isolated practice and the real run. The transition from “I can do this with checkpoints” to “I can do this clean” is where most progress actually lives.
Use the Camera to Read Ahead
In practice mode, getting hit and watching the level continue playing for a moment gives you a preview of what comes next. Some players ignore this. Pay attention to every frame after a death — you’re watching the upcoming orb sequence play out without the pressure of controlling your icon. That free preview is genuinely useful information about what type of orb comes next and roughly where in the beat pattern it sits.
Geometry Dash rewards players who treat mechanics as worth understanding deeply, not just surviving. Orbs and pads look simple on the surface. The timing and sequencing underneath them is where the game actually lives.


Leave a Reply